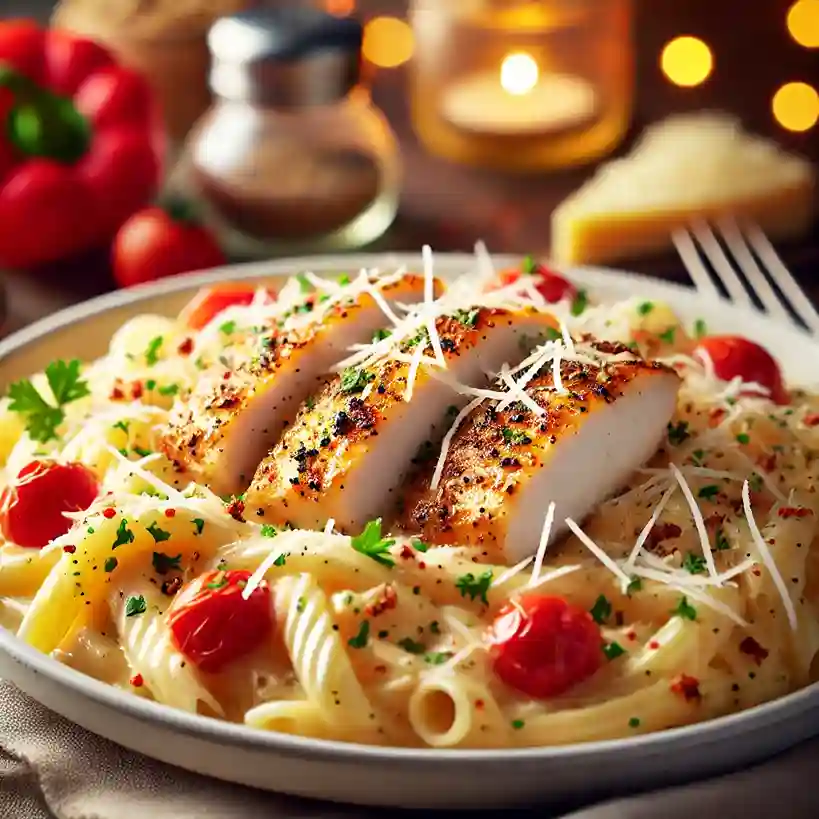
Garlic Butter Chicken Breast is a timeless dish loved across the USA for its rich, savory flavors and ease of preparation. This classic recipe combines tender, juicy chicken with a luscious garlic butter sauce that enhances every bite. Whether you’re preparing a quick weeknight dinner or hosting a special meal, this dish never fails to impress.
In this article, we’ll explore everything you need to perfect this dish—from the best ingredients to step-by-step instructions, common mistakes to avoid, and tips for serving with style.
Chicken Pasta: A Perfect Pairing
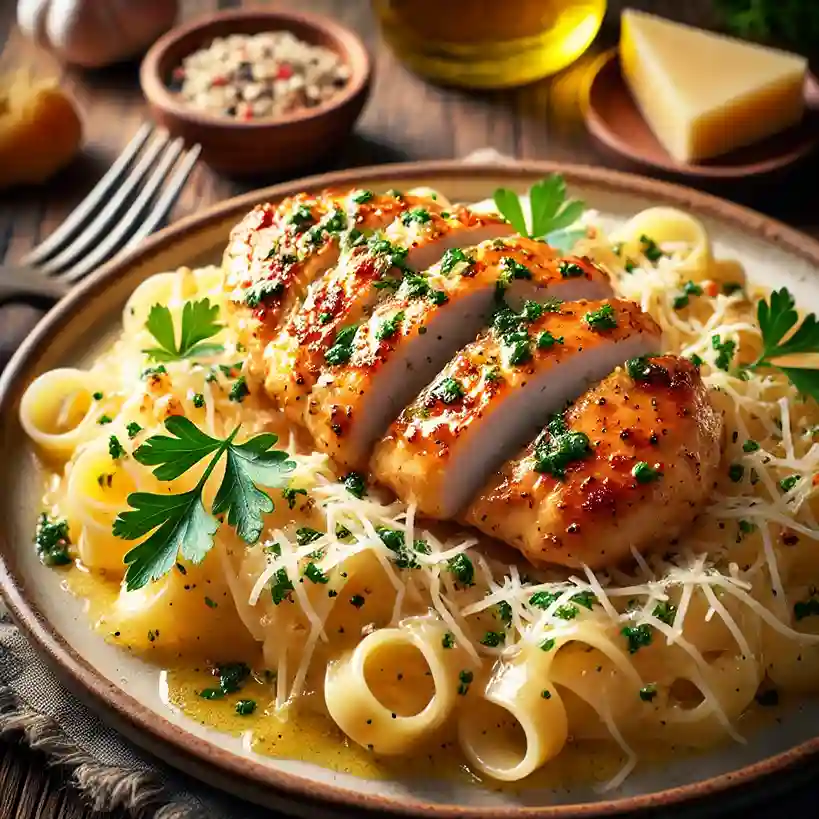
One of the best ways to enjoy garlic butter chicken breast is by pairing it with a delicious pasta dish. Here are a few pasta ideas that complement this flavorful chicken:
1. Garlic Butter Chicken Alfredo
A creamy Alfredo sauce made with Parmesan, butter, and heavy cream pairs beautifully with garlic-butter chicken. Serve it over fettuccine for a rich, indulgent meal.
2. Lemon Garlic Chicken Pasta
For a lighter option, toss your cooked pasta with olive oil, lemon juice, and fresh herbs. The acidity of the lemon cuts through the richness of the butter, creating a well-balanced dish.
3. Spicy Cajun Chicken Pasta
Add a Southern twist by seasoning your chicken with Cajun spices before cooking. Toss it with a creamy sauce, bell peppers, and penne pasta for a bold, spicy kick.
Ingredients for Classic Garlic Butter Chicken Breast
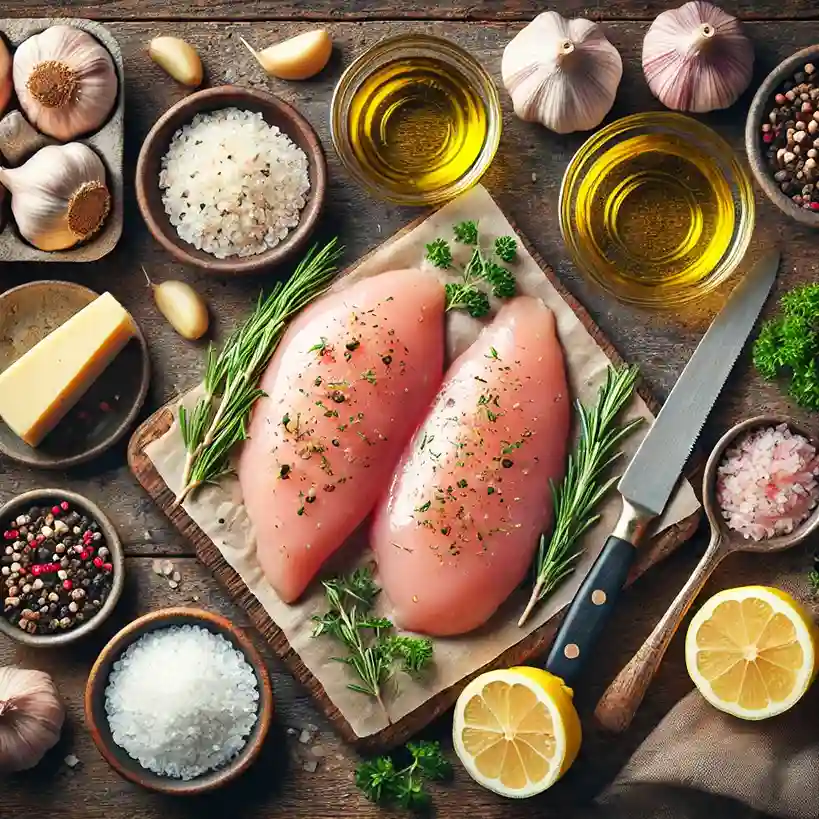
To make the perfect garlic butter chicken breast, you need high-quality ingredients that enhance flavor and texture. Here’s what you’ll need:
1. Chicken
- 2 boneless, skinless chicken breasts (about 6-8 oz each) – Choose fresh, high-quality chicken for the best flavor and tenderness.
2. Seasonings & Coating
- 1 tsp salt – Enhances the natural flavors of the chicken.
- ½ tsp black pepper – Adds a subtle heat and depth of flavor.
- ½ tsp smoked paprika – Provides a slight smoky taste and beautiful color.
- ½ tsp garlic powder – Intensifies the garlic flavor in the dish.
- ½ tsp onion powder – Adds a mild sweetness that complements the garlic.
- ½ tsp Italian seasoning – A blend of herbs like oregano, basil, and thyme for extra aroma.
- 2 tbsp all-purpose flour (optional) – Helps create a light crust on the chicken for a crispy exterior.
3. Cooking Fat & Aromatics
- 2 tbsp olive oil – Helps sear the chicken and develop a golden-brown crust.
- 4 tbsp unsalted butter – The base of the rich garlic butter sauce.
- 4 cloves garlic, minced – Fresh garlic provides the best aroma and flavor.
- ½ tsp red pepper flakes (optional) – Adds a gentle heat to balance the richness.
4. Finishing Touches
- 2 tbsp chicken broth or white wine – Deglazes the pan and adds depth to the sauce.
- 1 tbsp fresh lemon juice – Brightens up the flavors and balances the richness.
- 1 tbsp fresh parsley, chopped – Adds a pop of color and freshness.
Step-by-Step Cooking Instructions
Now that we have all the ingredients, let’s go through the detailed cooking process to make a perfectly juicy and flavorful Garlic Butter Chicken Breast.
Step 1: Prepare the Chicken
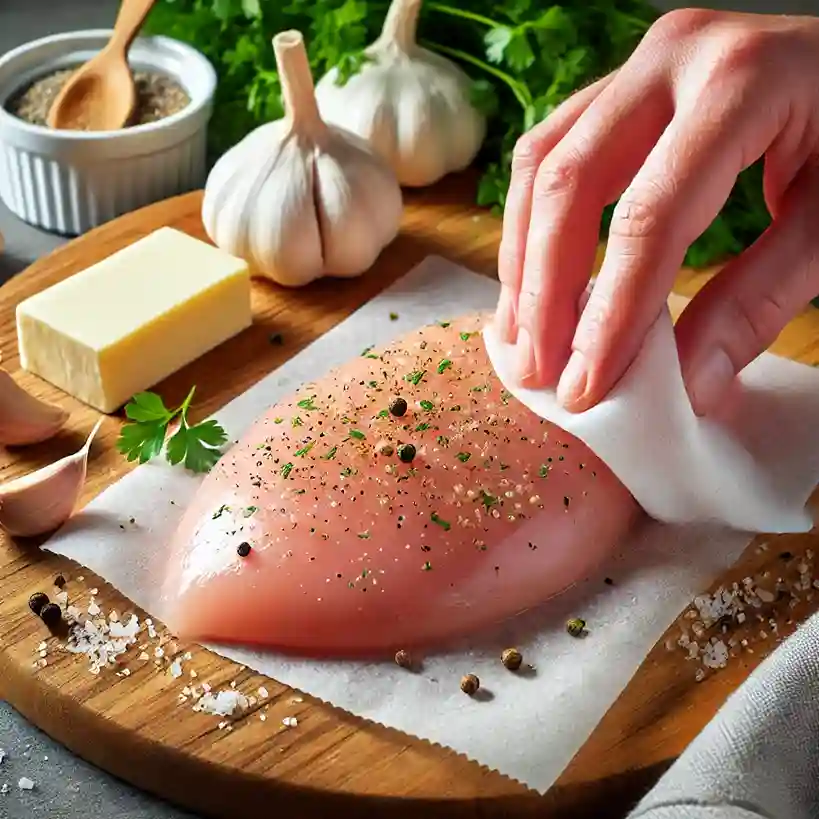
- Pat dry the chicken breasts using paper towels. This helps remove excess moisture, allowing for a better sear.
- Flatten the chicken (optional): If the breasts are thick, place them between two pieces of plastic wrap and pound them gently with a rolling pin or meat mallet until they have an even thickness (about ½ to ¾ inch). This ensures even cooking.
- Season the chicken on both sides with salt, pepper, smoked paprika, garlic powder, onion powder, and Italian seasoning. If using flour, lightly coat the chicken on both sides to create a crispy texture when seared.
Step 2: Sear the Chicken
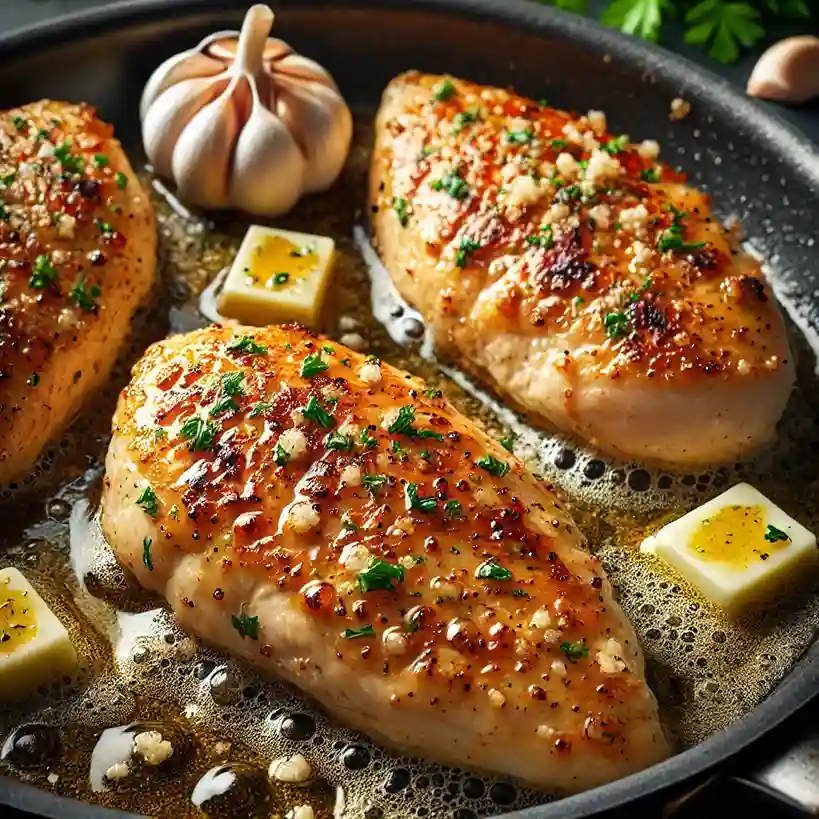
- Heat 2 tbsp olive oil in a large skillet over medium-high heat.
- Once the oil is hot, place the chicken breasts in the pan. Let them cook undisturbed for about 4-5 minutes on the first side until a golden-brown crust forms.
- Flip the chicken and cook for another 3-4 minutes on the second side. The internal temperature should reach 165°F (74°C) when measured with a meat thermometer.
- Remove the chicken from the pan and place it on a plate. Cover loosely with foil to keep it warm while you prepare the garlic butter sauce.
Step 3: Make the Garlic Butter Sauce

- Reduce the heat to medium and add 4 tablespoons unsalted butter to the same skillet. Let it melt.
- Stir in the minced garlic and red pepper flakes (if using). Sauté for 30-45 seconds until fragrant—be careful not to burn the garlic!
- Pour in 2 tablespoons of chicken broth or white wine to glaze the pan, scraping up any browned bits from the bottom for extra flavor.
- Add 1 tbsp. fresh lemon juice and stir to combine.
Step 4: Combine & Serve
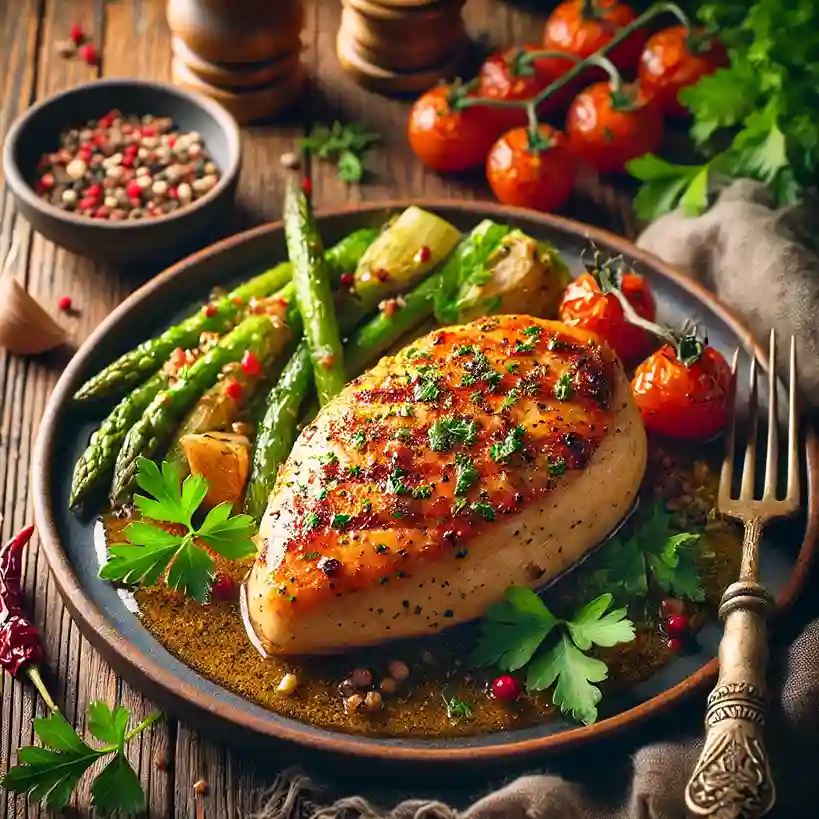
- Return the seared chicken breasts to the skillet and spoon the garlic butter sauce over them. Let them simmer for 1-2 minutes to absorb the flavors.
- Turn off the heat and garnish with fresh, chopped parsley.
Common Mistakes to Avoid
Even though garlic butter chicken breast is a simple dish, a few common mistakes can affect the flavor, texture, and overall success of the recipe. Here’s what to watch out for:
1. Cooking Cold Chicken
Mistake: Taking chicken straight from the fridge to the pan can lead to uneven cooking, with the outside burning while the inside remains undercooked.
Solution: Let the chicken sit at room temperature for 15-20 minutes before cooking to ensure even doneness.
2. Skipping the Pat Dry Step
Mistake: Excess moisture on the chicken prevents proper browning, making it difficult to develop a nice golden crust.
Solution: Always pat the chicken dry with paper towels before seasoning and cooking.
3. Overcrowding the Pan
Mistake: Placing too many chicken breasts in the skillet at once lowers the temperature of the pan, leading to steaming rather than searing.
Solution: Cook the chicken in batches if necessary, ensuring each piece has enough space to develop a proper sear.
4. Not Letting the Chicken Rest
Mistake: Cutting into the chicken immediately after cooking causes all the juices to escape, resulting in dry meat.
Solution: Let the chicken rest for at least 5 minutes before slicing to allow the juices to redistribute.
5. Burning the Garlic
Mistake: Cooking garlic on high heat for too long can cause it to turn bitter and ruin the sauce.
Solution: Add garlic to the butter on medium heat and sauté for only 30-45 seconds until fragrant.
6. Not Using a Meat Thermometer
Mistake: Guessing when the chicken is done can lead to overcooked, dry chicken or undercooked, unsafe chicken.
Solution: Use a meat thermometer and cook until the internal temperature reaches 165°F (74°C).
Avoiding these mistakes will ensure your Garlic Butter Chicken Breast turns out juicy, flavorful, and perfectly cooked every time!
Presentation Tips
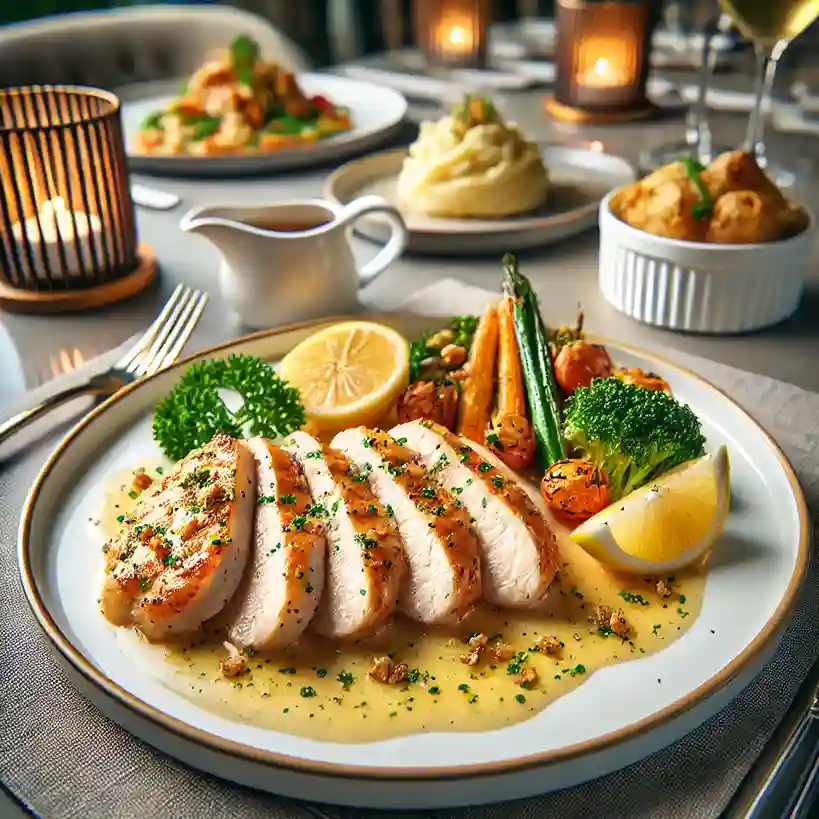
A beautifully plated dish makes the dining experience more enjoyable. Here are some ways to serve and present your Garlic Butter Chicken Breast in a restaurant-quality style:
1. Slice the Chicken for an Elegant Look
Instead of serving the whole chicken breast, slice it diagonally into thin strips. This not only makes the dish look more refined but also makes it easier to eat.
2. Drizzle Extra Garlic Butter Sauce
Before serving, spoon additional garlic butter sauce over the chicken to keep it juicy and add a glossy, appetizing finish.
3. Garnish for a Fresh Touch
- Fresh parsley – Adds color contrast and freshness.
- Lemon wedges – Provides a zesty touch for guests who love extra citrus flavor.
- Grated Parmesan cheese – A light sprinkle elevates the dish with a subtle salty richness.
4. Pair with the Perfect Side Dishes
Garlic butter chicken breast pairs well with a variety of sides:
- Creamy Mashed Potatoes – A classic pairing that complements the rich butter sauce.
- Garlic Butter Pasta – Keeps the garlic-butter theme consistent for a complete meal.
- Steamed or Roasted Vegetables – Broccoli, asparagus, or green beans add a nutritious balance.
- Rice or Quinoa – A great option to soak up the flavorful sauce.
FAQs About Garlic Butter Chicken Breast
1. Can I use chicken thighs instead of chicken breasts?
Yes! Boneless, skinless chicken thighs work well for this recipe and tend to be juicier. Just adjust the cooking time slightly, as thighs take a little longer to cook through.
2. How do I store and reheat leftovers?
- Storage: Keep leftovers in an airtight container in the fridge for up to 3 days.
- Reheating: Warm the chicken in a skillet over medium heat with a little butter or chicken broth to keep it moist. Avoid microwaving for too long, as it can dry out the chicken.
3. Can I make this dish ahead of time?
Yes! You can season and marinate the chicken in advance, then cook it fresh when ready. The garlic butter sauce is best made right before serving.
4. What can I do if my chicken turns out dry?
Dry chicken is usually the result of overcooking. Use a meat thermometer to ensure it reaches exactly 165°F (74°C). If it’s already dry, serve it with extra sauce or a side of creamy pasta to add moisture.
5. Can I make this dish dairy-free?
Yes! Substitute olive oil or dairy-free butter for regular butter to make it dairy-free while keeping the same rich flavors.
Final Thoughts
Garlic Butter Chicken Breast is a versatile, flavorful, and easy-to-make dish that works for both weeknight dinners and special occasions. By following the step-by-step guide and avoiding common mistakes, you’ll achieve a perfectly juicy and tender result every time. Pair it with your favorite sides, garnish beautifully, and enjoy a restaurant-quality meal at home!


